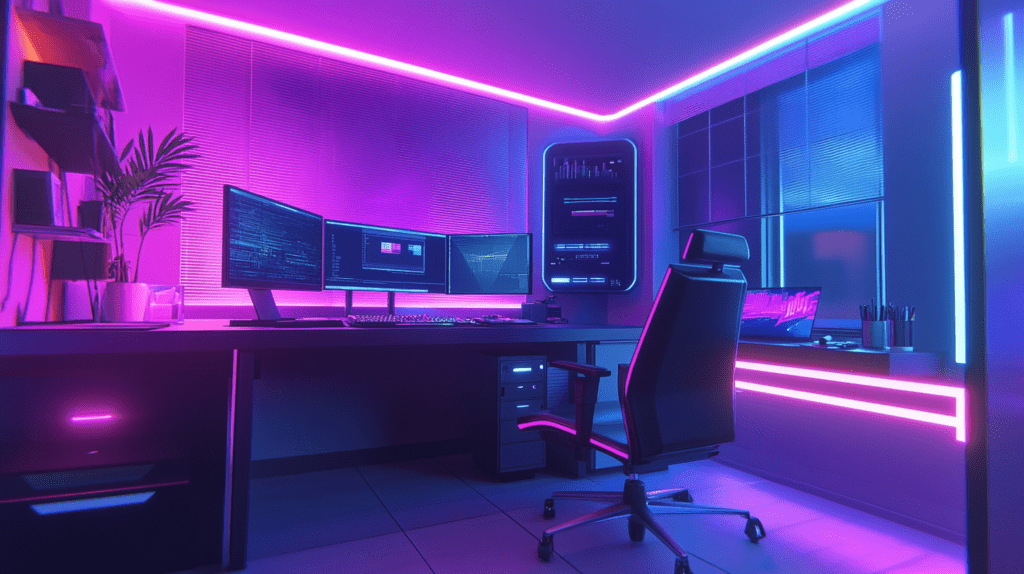
How to Start Twitch Streaming?
Getting Started with Twitch Streaming
So, you have decided to dive into the exciting world of Twitch streaming? Whether you are eager to share your gaming adventures, showcase your creative projects, or simply connect with an online community, getting started on Twitch is an exciting journey. It is natural to feel a mix of excitement and nervousness as you embark on this new venture. But don’t worry—this comprehensive guide is here to walk you through everything you need to know to start streaming on Twitch with confidence. From setting up your account and customizing your profile to choosing the right equipment and engaging with your viewers, we will cover all the essential elements to help you launch a successful streaming channel. So, let us dive in and get you on your way to becoming a Twitch streamer!
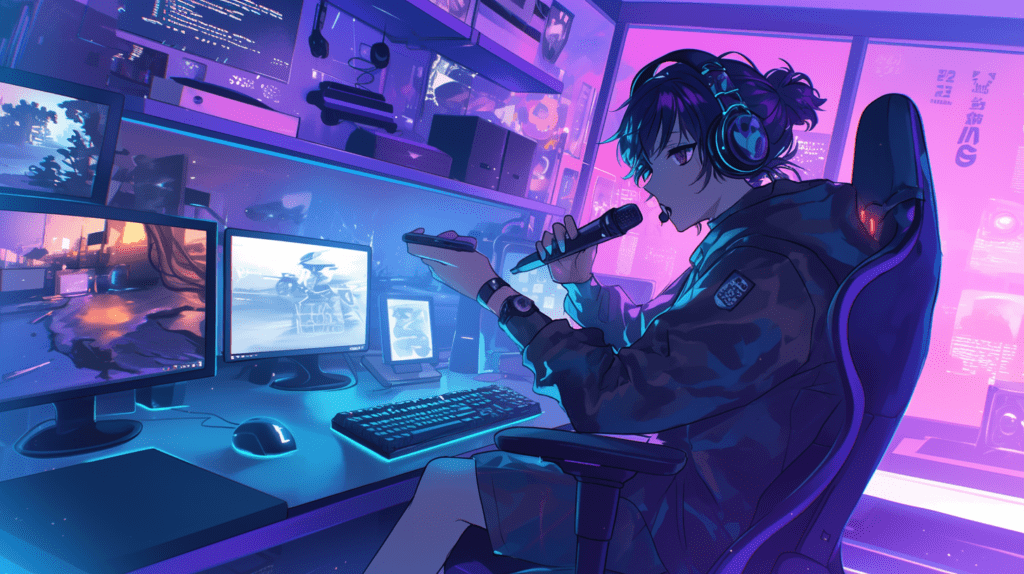
Creating Twitch Account and Setting Up Your Profile:
To start streaming on Twitch, the first step is to create a Twitch account. Visit Twitch’s sign-up page and click the “Sign Up” button to begin the registration process. Once you have created your account, you need to set up your profile to make it appealing. Add a profile picture, write a catchy bio, and include any relevant links. Well-set profile helps you stand out and encourages viewers to follow your channel.
Essential Streaming Equipment:
For effective streaming, having the right equipment is crucial. Start with a good-quality camera and a microphone to ensure a clear video and audio. A decent webcam and an USB microphone is sufficient for beginners. As you grow, consider upgrading to a DSLR camera and a professional microphone for even better quality. Investing in the right gear can significantly enhance your streaming experience and help you engage more effectively with your audience.
Downloading OBS Studio or Streamlabs:
- Download and install OBS Studio or Streamlabs based on your preference.
- Both programs are free and provide all the necessary tools to get started.
Basic Configuration:
- After installation, open your chosen software and start configuring your stream.
- Set up your video and audio sources, adjust the resolution, and configure your streaming settings to ensure high-quality output.
Setting Up Scenes and Sources:
- Scenes are different layouts for your stream (e.g., one for gaming, another for chatting).
- Sources are the elements within each scene, such as your game capture, webcam feed, and alerts.
Importance of Overlays:
Overlays are more than just visual elements on your stream; they play a crucial role in enhancing the viewer’s experience by providing additional context and information. They can display important details such as recent followers, donations, and other interactive features that keep your audience engaged. By incorporating overlays, you not only improve the visual appeal of your stream but also make it easier for viewers to interact with and follow along with your content.
What Are Twitch Overlays and How to Customize Them?
Twitch overlays are graphical elements that you add to your stream to make it more engaging and informative. These can include items like your channel logo, webcam frame, alert boxes, and various decorative or instructional features. You can either use premade overlays, which are available for free or for purchase on various websites, or create your own custom overlays. Using premade overlays is a quick way to give your stream a professional look without the hassle of designing from scratch. If you prefer a more personalized touch, tools like Canva or Adobe Photoshop are excellent for creating custom overlays that match your channel’s branding. Ensure that your overlays are not only visually appealing but also easy to read and understand for a better viewer experience.
Checking Audio and Video Quality:
- Ensure your microphone audio is clear and video resolution is set correctly.
- Make adjustments as needed to prevent technical issues during your live stream.
Running a Test Stream:
- Conduct a test stream to see how everything looks and sounds in action.
- Check for any potential issues with your internet connection or streaming settings.
Interacting with viewers:
Engaging with your audience is crucial for building a successful stream. To create a connection with your viewers, it’s important to use chat effectively. Pay close attention to the conversation happening in your chat and make an effort to interact with your viewers. Respond to their comments, answer their questions, and admit their presence to make them feel involved and valued. This interaction helps make a more particular connection and keeps viewers interested in your content.
Building a Community:
Creating a welcoming atmosphere is crucial to building a strong community around your stream. While developing a community takes time, focusing on being friendly and engaging will encourage viewers to return regularly. Make an effort to create a positive environment where viewers feel comfortable and engaged. By fostering a sense of belonging and showing appreciation for your audience, you will grow your community and make a loyal following that keeps coming back for more.
Conclusion:
Starting your Twitch streaming trip involves setting up your account, choosing the right equipment, configuring your software, and adding engaging overlays. By focusing on these crucial elements and interacting with your audience, you’ll be well on your way to creating a successful Twitch channel. Keep experimenting and enriching your setup to find what works best for you.
FAQs:
Q1 Do I need a professional camera and microphone to start streaming?
A1 No, you don’t need top-of-the-line equipment to start. A decent webcam and microphone will work OK when you’re beginning. You can always upgrade later as you grow.
Q2 What are Twitch overlays and why are they important?
A2 Twitch overlays are graphical elements added to your stream that enhance the viewer’s experience. They give information like recent followers or donations and make your stream look more professional.
Q3 Can I use both OBS Studio and Streamlabs?
A3 You generally choose one to use at a time, but they both have analogous functionalities. OBS Studio is more flexible and open-source, while Streamlabs offers fresh features like integrated alerts and converse operation.
Q4 How do I produce my own Twitch overlays?
A4 You can produce your own overlays using design tools like Canva or Adobe Photoshop. Make sure they align with your channel’s branding and are visually appealing.
Q5 What should I do if my stream quality is poor?
A5 Check your internet connection, acclimate your streaming settings, and ensure your equipment is performing duly. Testing your stream before going live can help identify and fix quality issues.
No Comments