How to Stream to Twitch Using OBS?
Streaming on Twitch has become a well-known way to share gameplay, craftsmanship, music, and more with a worldwide group of onlookers. If you’re unused to Streaming and wondering how to get started using OBS (Open Broadcaster Program), this direct is for you. We’ll walk you through the handle of setting up OBS – stream – twitch – stream to twitch, including overlays and going live on Twitch.
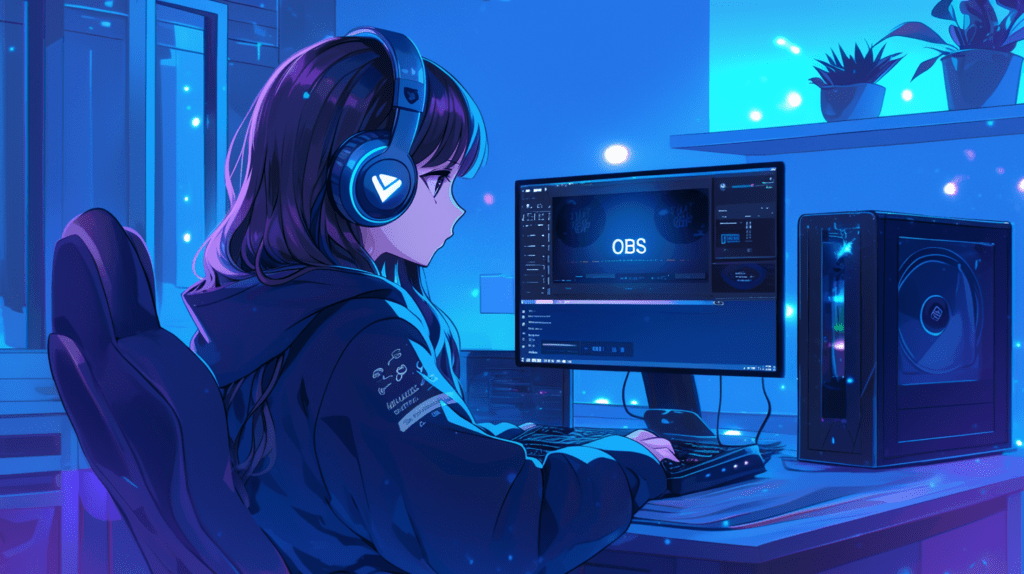
Setting Up OBS for Streaming:
Downloading and Introducing OBS:
Before you can begin streaming, you’ll require to download and introduce OBS. Head to the official OBS site, download the version suitable for your operating system and take after the establishment information. Once introduced, open OBS to start designing your settings.
Configuring Fundamental Settings:
After introducing OBS, it’s time to alter the fundamental settings. Explore the “Settings” menu in OBS and select “Stream.” Here, you’ll select “Twitch” as your benefit and set the server to “Auto.” OBS will naturally select the best server for you based on your location.
Connecting OBS to Twitch:
Getting Your Twitch Stream Key:
To stream on Twitch, you require your Twitch stream key. Log in to your Twitch account, go to your dashboard, and discover the “Stream Key & Preferences” area. Duplicate your stream key—this is significant for interfacing OBS to Twitch.
Linking Twitch to OBS:
With your stream key in hand, return to OBS. In the “Stream” settings, paste your Twitch stream key into the appropriate field. This joins OBS to your Twitch account, permitting you to broadcast directly to your channel.
Customizing Your Stream:
Adding Overlays to Your Stream:
Overlays are fundamental for including identity and branding to your stream. They can incorporate things like your webcam outline, alerts, and even a chat box. To include overlays, press the “+” symbol in the “Sources” segment of OBS, select “Image,” and select your overlay record. Alter the measure and position to fit your stream layout.
Setting Up Twitch Overlays:
Twitch overlays can make your stream more locked in and proficient. You can discover free or premium overlays online or make your own. To set them up in OBS, include each overlay as a modern source. Organize them in layers so that your webcam shows up on the beat of your foundation, for example.
Using OBS to Personalize Your Overlays:
OBS offers different instruments to customise your overlays. You can include channels, alter colors, and even quicken certain components. Play around with these settings to make your stream interestingly yours.
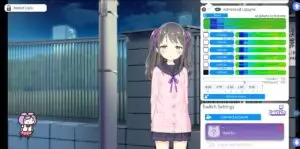
Fine-Tuning Sound and Video Settings:
Adjusting Sound Settings:
-
Audio Mixer in OBS:
- Adjust microphone and system sound levels in the “Audio Mixer.”
- Ensure your microphone is set as the primary input.
- Fine-tune volume levels to avoid distortion and maintain clarity.
Selecting the Right Microphone and Sound Levels:
-
Microphone Selection:
- Use a quality USB or XLR microphone for clear audio.
-
Adjusting Sound Levels:
- Set levels so your voice is clear and not overpowering.
- Balance sound to ensure a professional audio experience for viewers.
Video Quality Settings:
-
Resolution and Frame Rate in OBS:
- Adjust resolution and frame rate under “Video” settings.
- Aim for 1080p at 60fps if your hardware and internet connection support it.
-
Optimizing Based on Hardware:
- Lower resolution to 720p or reduce the frame rate to 30fps if needed to maintain stream stability.
Going Live on Twitch:
Starting Your Stream:
When you’re prepared to go live, press “Start Streaming” in OBS. Your stream will start broadcasting to Twitch, and viewers can start tuning in.
Checking the Stream Preview:
Always check the stream, and see some time before going live. This permits you to guarantee everything is working accurately, from the video and sound quality to the overlays.
Interacting with Your Audience:
Engaging with your audience is key to building a loyal following. Keep an eye on the chat, react to comments, and make your viewers feel valued.
Troubleshooting Common Issues:
Dealing with Lag and Buffering:
-
Lower Bitrate in OBS:
- Reduce your stream’s bitrate in OBS if lag or buffering occurs.
-
Upgrade Internet Connection:
- Consider upgrading your internet connection for better stability and speed.
Optimizing Your Internet Connection:
-
Use a Wired Connection:
- A wired connection is more stable than Wi-Fi for streaming.
-
Ensure Sufficient Upload Speed:
- Verify that your upload speed can support your chosen resolution and frame rate.
Resolving Audio Sync Issues:
-
Adjust Audio Delay in OBS:
- Use the “Audio Mixer” in OBS to access “Advanced Audio Properties.”
- Adjust the audio delay settings to sync audio with video.
Conclusion:
Wrapping Up Your To Start with Twitch Stream:
Streaming to Twitch utilizing OBS might appear complicated to start with, but once you’ve set everything up, it’s direct. With your overlays in put, sound and video fine-tuned, and your Twitch account associated, you’re prepared to share your substance with the world. Cheerful streaming!
FAQs:
Q:1 How do I fix lag during my Twitch stream?
Lowering the bitrate in OBS or updating your web association can offer assistance in decreasing lag.
Q:2 What’s the best determination for Streaming on Twitch?
1080p at 60fps is perfect, but you can lower it to 720p or 30fps if needed.
Q:3 Can I utilize custom overlays on OBS?
Yes, you can include custom overlays to OBS by bringing in them as picture sources.
Q:4 How do I connect with my Twitch audience?
Keep an eye on the chat and react to comments during your stream to engage with your viewers.
Q:5 What are the basic settings to check some time before going live?
Ensure your sound, video, and overlays are accurately arranged, and check the stream some time before starting.


No Comments